I received a photo, followed by a voice message while at work today. The voice message was my daughter asking me to make her the bread in the photo – some raisin roll. A second message soon followed with “instructions” from her on how I should make the bread. “Mama, you need to put some flour, then put some blueberries, then put some oil and more flour. Then I can eat it for breakfast.” I think she thought the raisins in the bread were blueberries. Her bread won’t rise for sure – no yeast. 🙂
My bread-making journey has many twists and turns. If you were to ask me to bake bread two years ago, I probably would have cringed. Now, it’s something I do every other day. It wasn’t always easy. The first time I tried to make bread, I used a wooden spoon. I may have overmixed/undermixed or punched the dough too hard because the bread turned out rock hard. And I had aching arms.
A couple of months later, I came across the book Artisan Bread in 5 minutes and tried using the no-knead technique. Results were much better, but I had to plan in advance as the dough needs to sit in the fridge for a couple of hours. And sometimes, my fridge was just too cluttered to hold a box of dough. It is a good book though. I highly recommend it.
This year, my mom suggested that I buy a small bread machine. “So that you can make healthy bread for the little girl!” She says. I declined – there were just too many unused appliances at home (The juicer I bought 3 years ago is still sitting in its box). She insisted. We bought the machine. Surprisingly, the breadmaker ended up as one of the most frequently used baking/food appliances in the house. I use it at least 2-3 times a week. At first, I used it to make boring loaves of bread. Then I experimented with slightly more interesting loaves of bread. Now I use the bread-machine to help me in kneading and proofing the dough, before I shape it into various shapes and forms. The possibilities are endless and I love it!

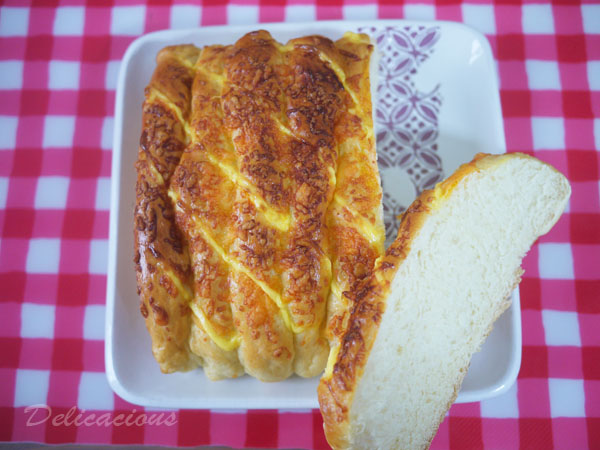
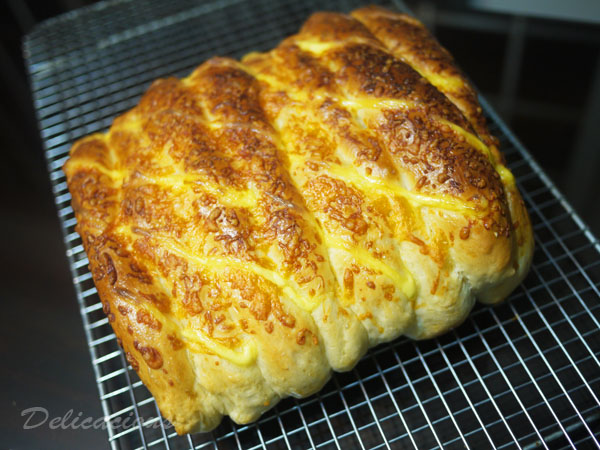
When I was a young girl, this cheese bread was one of my favourite breads from the local bakery. I hardly see it these days. Now I can make this at home easily. The first rise of the dough was in the machine, and there after, all I needed to do was to shape it and let it rise for a little while more, sprinkle on some cheese, sugar and sweet mayonnaise and into the oven it goes! I used a water roux in the dough as it helps to keep the bread soft for a longer time, without the addition of artificial additives!
- 70ml water
- 20g bread flour
- 1 egg yolk
- 120 ml water
- 30g caster sugar
- 5g salt
- 295g bread flour
- 20g unsalted butter
- 1¼ tsp active dry yeast
- 1 egg
- ¼ cup light cheddar cheese, grated
- 1 - 2 tsp caster sugar
- Some sweet mayonnaise
- Combine roux ingredients in a small sauce pan.
- Cook roux over low heat, stirring continuously.
- Once ingredients come together, and the roux becomes a paste, turn off the flame.
- Place roux in a bowl and cover with a piece of cling film.
- Refrigerate for 1 hour.
- Add chilled roux, dough ingredients (except yeast) to the pan of a 1 or 1.5 pound bread machine. Make a well in the ingredients and add the yeast.
- Set the machine to the dough setting mode. When the machine beeps, remove the dough. (Dough can be made by hand, or using a standing mixer with a dough hook.)
- Divide dough into eight equal portions and shape them into balls.
- Cover the dough balls with cling film for about 10 - 15 minutes.
- Meanwhile, grease a 8 inch square baking pan and line it with baking paper.
- Flatten a ball of dough your hand, and roll it up so that it resembles a cylinder. Stretch the ends of the cylinder so that it is almost the length of the pan.
- Place it at one end of the pan, and repeat with the other 7 balls of dough.
- Cover lightly with cling film and allow the cylinders that are placed beside each other to rise till twice its original size.
- Preheat the oven to 190ºC.
- Brush some beaten egg on the bread, and sprinkle on cheese and sugar.
- Drizzle some mayonnaise diagonally across the bread.
- Bake for 20 - 25 minutes. If bread browns too quickly, cover with aluminium foil after 7 - 10 minutes.
Have you participated in the Cook’s Illustrated magazine giveaway? You have until 30 Oct!! Just comment in the post here!
This post is shared at some of these blogs!


Theresa, this bread is so beautiful! I’m sorry I am so late, though thank you so much for joining us and sharing this at Best of the Weekend! Pinned and sharing today! Hope you have a happy Friday and a wonderful weekend!
Thanks for popping by Cindy and glad you like the bread!